 Mechanic
Use cases / Gift messages
Gift messages.
From cart to inbox.
Let shoppers add a personal note to their Shopify order. Mechanic saves the gift details with the cart and emails the recipient when the whole order is marked fulfilled.
A form for the buyer. A task for what happens next.
Hello Sam,
Alex sent you a gift! Their order has now been fulfilled.
For the new place, and all the good things ahead. Can’t wait to visit.
Love, Alex
From the team at Example Store
From cart to inbox
A small gesture, carried through.
The buyer writes the message once. It stays with the order until your fulfillment workflow is ready for it.
They add a note
An optional Add a gift message link opens the form on the cart page. It asks for their name, the recipient’s name and email, and the personal message. Complete answers save automatically.
It follows the order
Checkout carries the saved details onto the Shopify order. The buyer can edit or remove them before checking out. Shoppers who leave the form untouched can continue normally.
The recipient hears from you
Once Shopify marks the whole order fulfilled, the configured Mechanic task sends the gift email. Split shipments wait for the final fulfillment.
Start with a ready-made form
Your questions. Your store’s voice.
Choose the Add a gift message starter in Mechanic Forms. Edit the wording, preview the questions, and add the published form to your cart page through Shopify’s theme editor. Your theme supplies the fonts and colors.
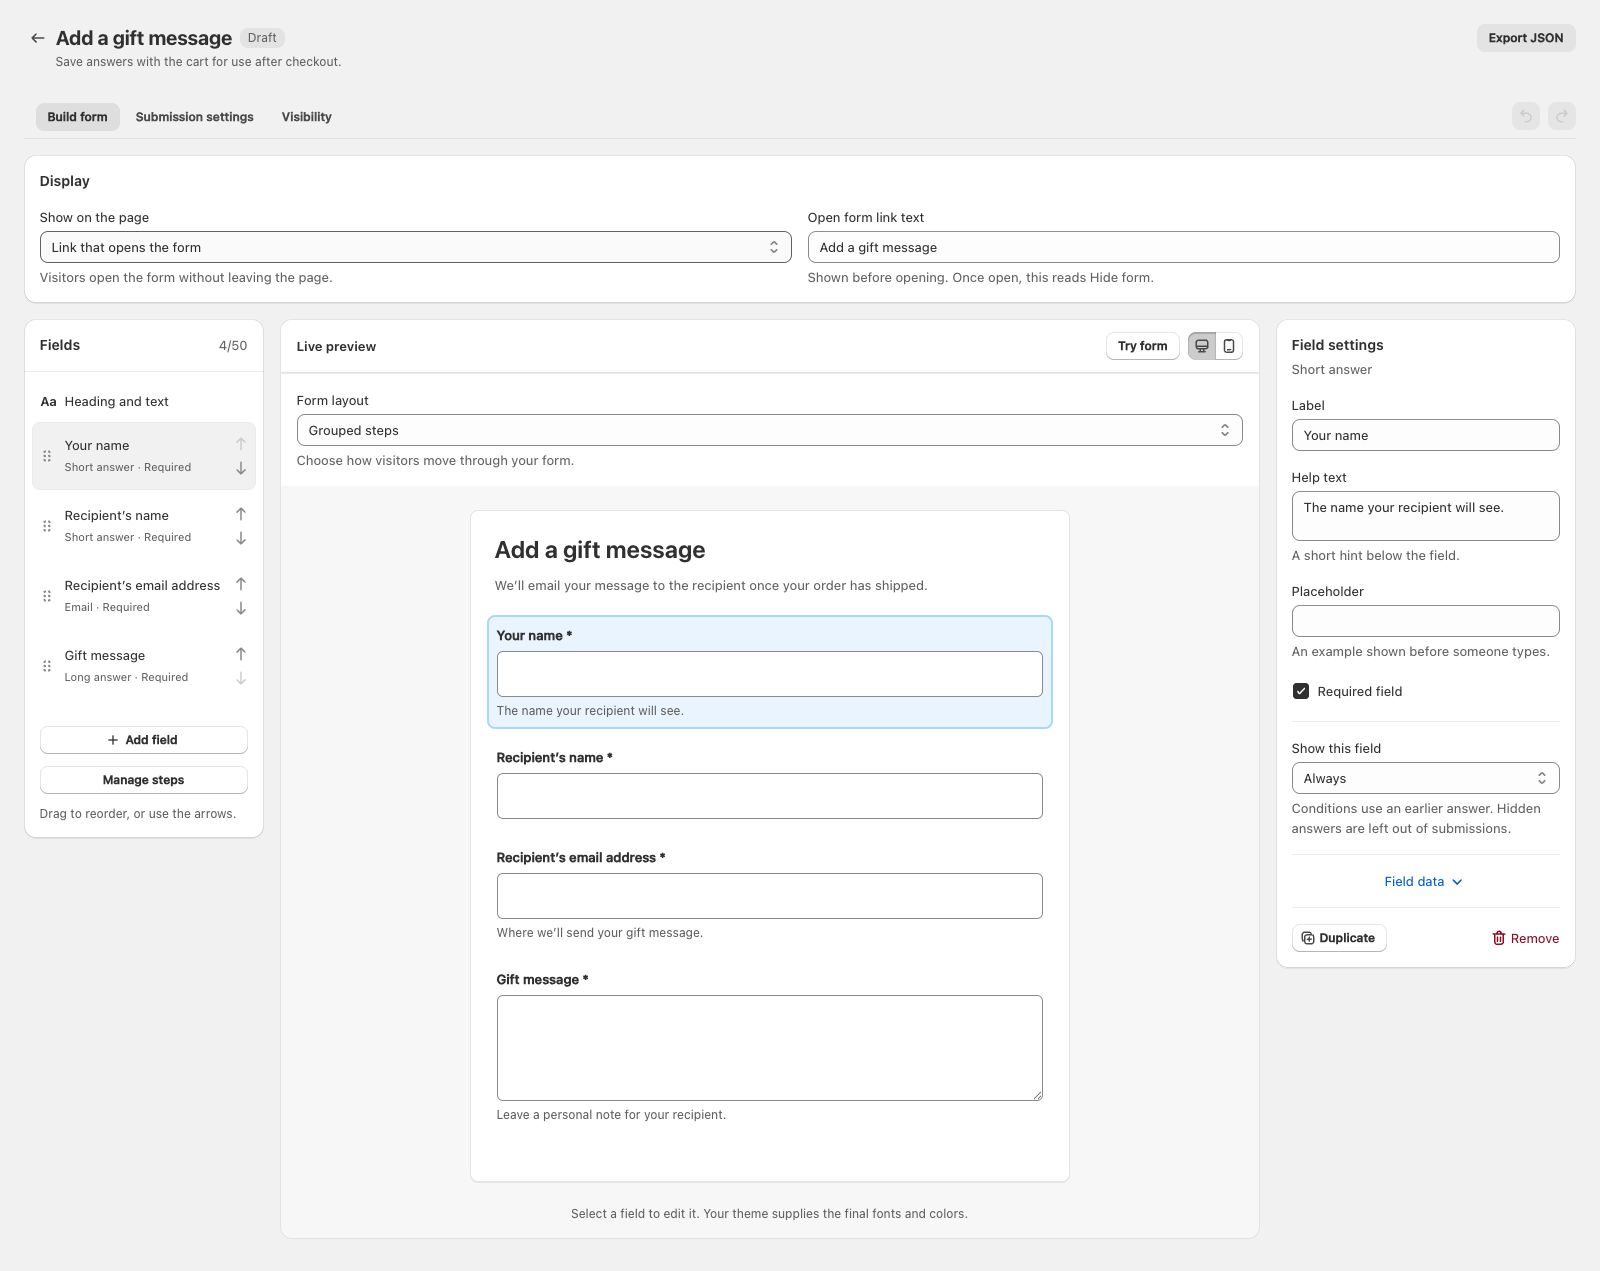
Connect the automation
Give the note a next step.
Install the matching gift-email task, choose your published form, customize the email, and enable the task. Adding the task and placing the form in your theme are separate setup steps; the tutorial walks through both.
Saving the gift details does not send the email. The task waits for full fulfillment and sends to the recipient the buyer entered. Prices, billing details, and the buyer’s order-status link stay out of the message.
One use case. More possibilities.
The answers can keep working.
Saving answers to the cart is useful beyond gifting. One or more tasks can use those answers after checkout: add instructions to a packing workflow, notify your team, or send details to an ERP, an OMS, or another service through its API.
The gift-email task gives you a starting point. Other workflows need their own tasks and configuration. Use the task library or build the automation that fits your business.
Before you set it up
Does this work in my cart drawer?
This setup places the form on the full cart page, in a section that supports Shopify app blocks. It does not automatically add the form to a cart drawer. You can use a cart-page experience or ask your theme developer to link from the drawer to the cart page. See the cart setup guidance.
Does the buyer have to add a gift message?
No. The starter opens from an optional link. Shoppers who leave it untouched can check out normally. If they start editing, normal cart checkout waits for the latest save. Accelerated payments, Buy it now, and custom checkout buttons may bypass the form and its save checks, so test your store’s checkout routes.
Can I send to a different recipient for each item?
This starter uses one recipient and one message for the whole order. It does not assign recipients to individual items. If an order ships in parts, the email waits until the whole order is marked fulfilled.
Does the email mean the gift has arrived?
No. It runs when Shopify marks the order fulfilled. That is not a carrier pickup or delivery confirmation. Choose email wording that fits your fulfillment process.
What do I need before turning it on?
You need Mechanic, a compatible cart-page section, and Mechanic email approval. Publish and place the form, select it in the task, and enable the task with its requested order access. Then test the complete journey with a test order and an inbox you control. The tutorial covers each step.
Make the next gift a little more personal.
Start with the gift form and the matching task. Make the wording your own. Test it from cart to inbox.